Great Spec-Tackle

Sample postcards, back and front

Here are some sample postcards. Note that these they are real postcards. Each should describe something about a peck of air, water or soil that relates the photo on the other side of the postcard. Ideally, you will have the postcards actually sent to the center through the postal service so that they have a stamp, etc. It is nice to get people you know to write them and send them to you at you center address; or get in touch with another Earthkeepers program and send postcards to each other. It is best not to put them into a photo album; that makes it harder to pass them around while you are with participants who have finished all three of their trails and are waiting for others to finish theirs.
Poison speck postcards

Here are a series of postcards that tell the story of how a speck became a poison speck. The first one is in the upper left corner, then lower left, then lower right. You can write your own poison speck story, of course, to match the postcards you use and be relevant to your participants. It is good to have 4 or 5 postcards in the story. You can place these in an album label as “Poison Speck Story”, but be sure to use see-through holders so that participants can see the postcard photo as you read the back aloud.
Sample guidebook – pages closed
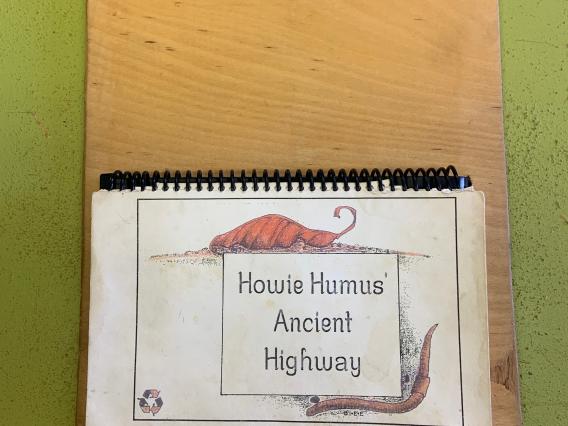
Here is the front cover of a set of three guidebooks (soil, water and air) that are bound together. The advantage of giving a group of participants all three guidebooks they will need to follow their three trails, rather than needing to wait for another group to finish using the one they need next. Note that the large spiral binding allows for easily turning pages that can be more difficult when using a smaller diameter spiral binding. You can also see that the guidebooks are attached to a board; more on that in another photo.
Sample Guidebook - Pages Open
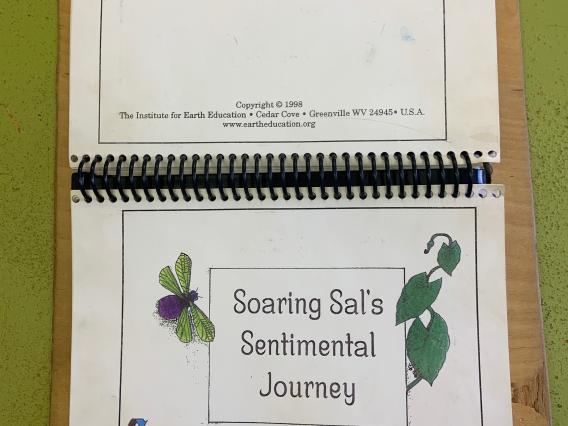
This guidebook is open so you can see the back of the last page of the trail the participants just finished and the first page of the next trail they will follow.
Close-up of binding for guidebook
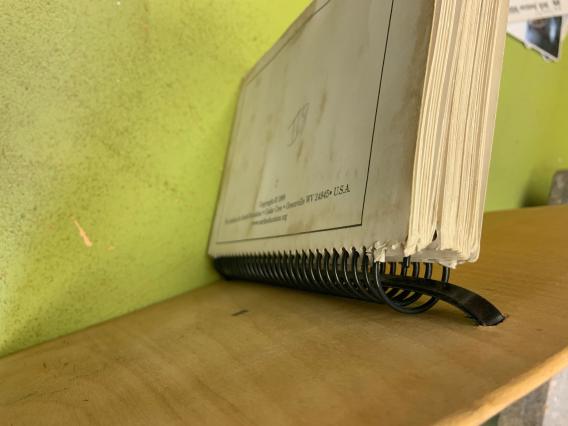
Here you can see how the guidebooks are attached to the wooden board.
Sample Grave Stone
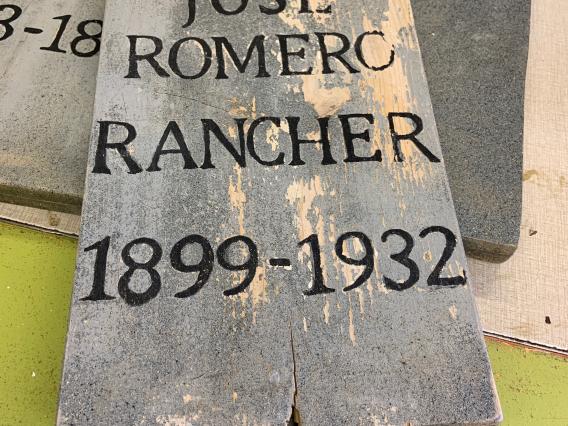
Gravestones can be made from wood, as this one is, or other material. They should be sturdy but not so heavy that they are difficult to carry to the activity site. This one is wood painted grey with some sand mixed into the paint to give it texture like a stone might have. Note the metal piece inserted into the bottom of the gravestone. It fits over a smaller diameter metal rod that stick out of the ground in the spot where you want the gravestone to be so that you do not need to pound in stakes each time you set it out.
Future Travels Stake
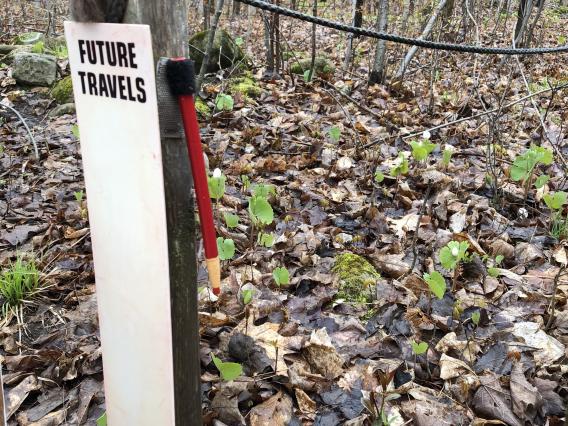
Here is a sample Future Travels stake, from Island Lake Outdoor Ed Center.