Time Capsules

Sample small group Time Capsule maps
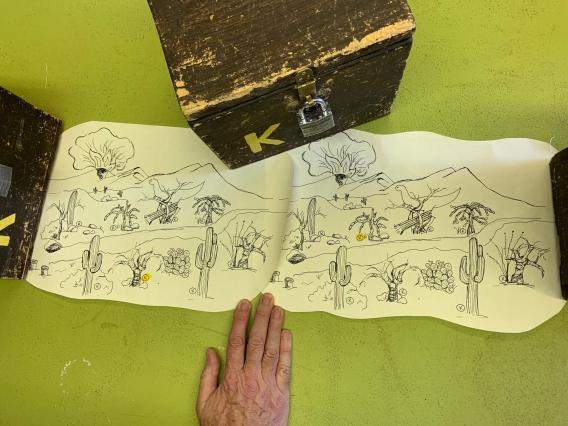
Two of the nine smaller copies of the map that are given to each of the nine small groups. While each may shows the location of all nine buried time capsules, each map has only one highlighted in yellow, the one that group should find.
Easel with mural
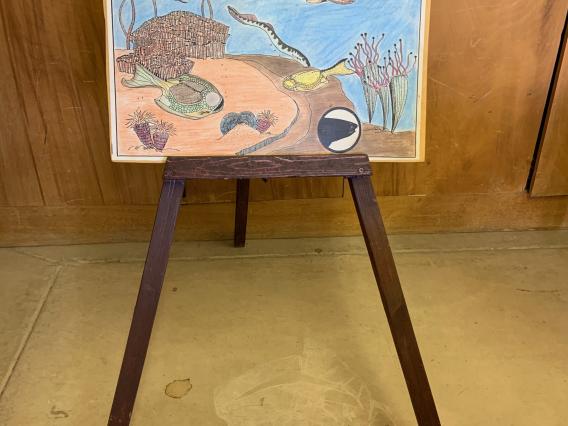
One of the murals placed on an easel.
Easel to support mural
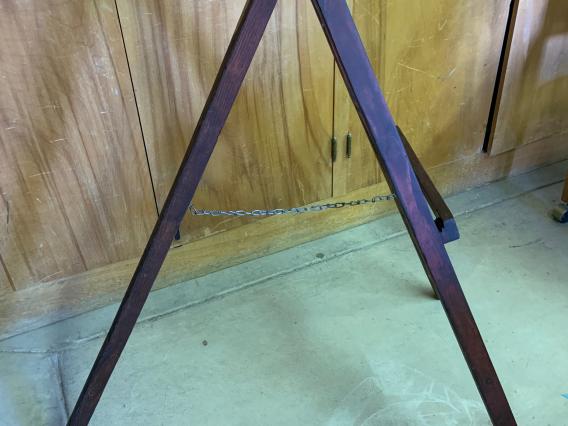
This easel is made from three pieces of wood that are attached together at the top by a bolt. A small piece of wood to support the mural is attached to the outer two legs, while the middle leg is free to swing back to provide tripod support. A small chain going from the back support leg to the middle of the mural support piece keeps the back leg from going back too far.
Small map container
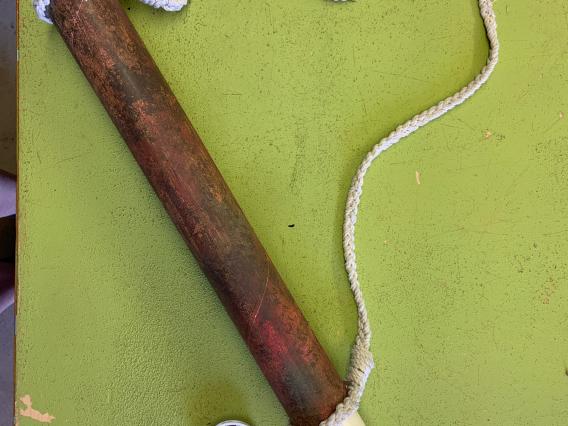
It is useful to have some sort of container to hold the small copies of the map that are given to the nine groups of participants. Here is one version of a tube container.
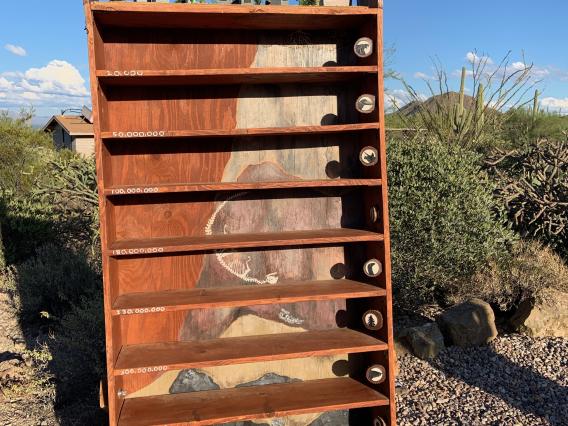
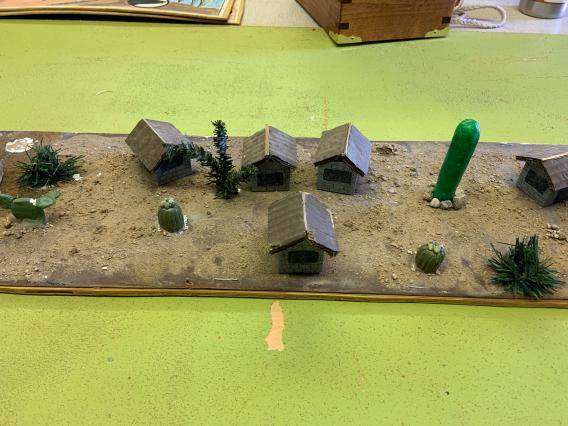
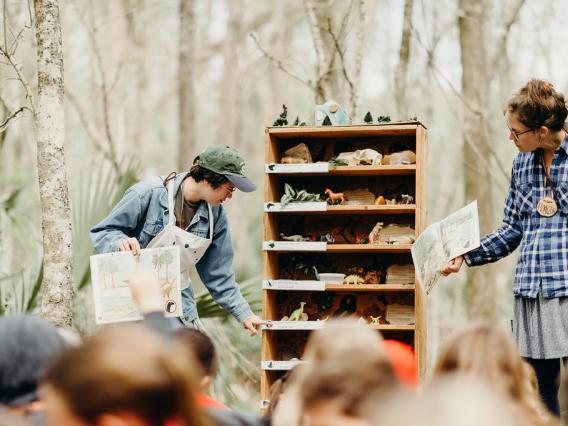
Front view of Time Capsule shelf unit without future shelves

Here are the time shelves as first seen by participants. Note the backing painted as a soil profile and the present EK Training Center displayed on the top shelf. Years before present are written on the left side of each shelf, and the appropriate logos to match the murals are attached on the right slide. You can see close-ups in other photos.
Front view of shelf unit with future shelves
Here are the time shelves with the future shelves on top, as added by the leader during the
activity. Note that there are two future shelves, not just one; that helps to reinforce the idea that there is not just one future but that everything will keep changing.
View of bottom layers/painting on Time Capsule shelf unit
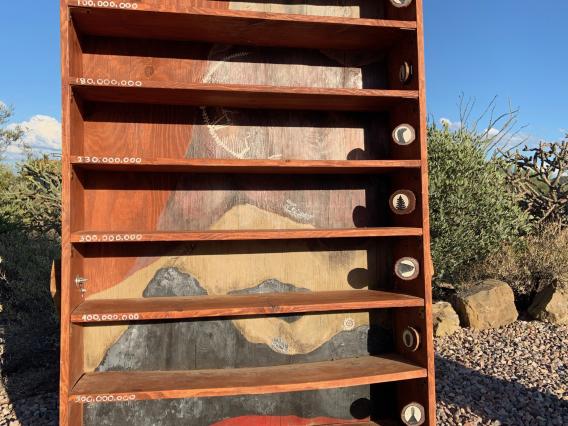
Close up view of the bottom levels of the time shelves.
Detachable future shelves
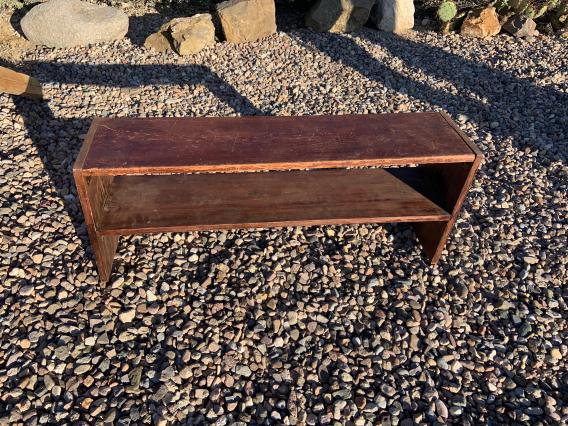
The future shelves should be one unit of two shelves with no objects or dates on them.
Top of Time Capsule shelf unit
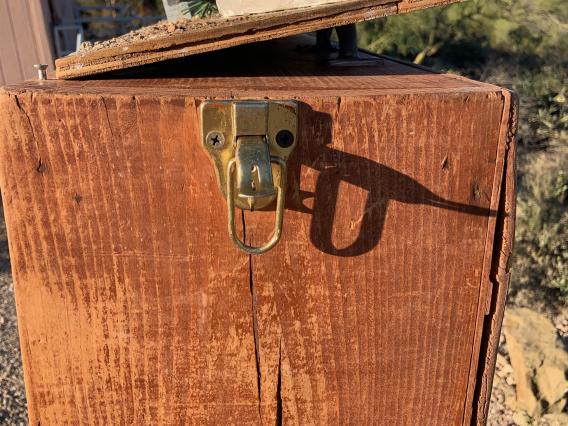
This view shows a latch that is used to secure the future shelves when they are placed on top
during the activity. You can also see that the present EK Training Center model on the top of the
main shelves is lift at an angle so that it can be better seen from participants who are not as tall as the shelf unit.
Present day EK Training Center model
This present day model is on a separate board that is placed on top of the main shelf unit.
Instead, you can permanently place the model on the top shelf of the main shelf unit, but this
version allows it to be easily removed at the end of the activity so that it is not damaged if you
are moving the unit.
Mural logo attached to shelf unit

Close-up view of one of the mural logos on the shelf unit. The logo is pasted onto a wood cookie, and that is attached to the die of the shelf unit with a hinge so that it can be folded back against the shelf unit if it is being moved after the activity, making the logo less likely to break off.
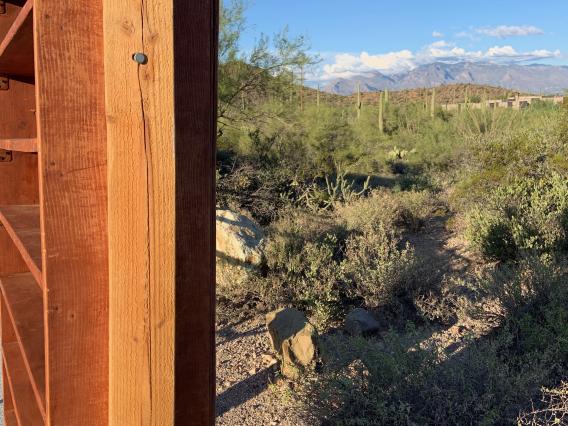
View of stand legs at back of shelf unit
This view of the lower back of the time shelf unit shows one possible set up for a shelf unit that
needs to be portable. Note the wheels on the lowest part of the unit backing. The two wood
pieces are supports for the shelf unit, since it is often on uneven ground. They are attached to the main shelf unit by a peg and cotter pin as shown in another photo.
View of support leg
The view shows one of the two wood support legs when it is folded up against the shelf unit
when it is mover or stored.
Inside view of attachment for support leg
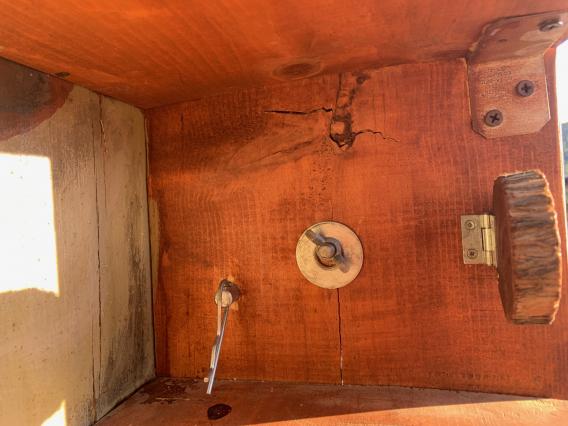
Both a bolt and wing nut and a peg with cotter pin are shown here as two different ways to attach the two supports to the main shelf unit, allowing the supports to be flexible so they can be placed at a back angle to support the unit during the activity and then moved back to be against the unit when it is moved or stored. You can also see the hinge that attaches the mural logo to the shelf unit.
Time Shelves
Another example of time shelves, from T.R.E.E. center.
Chorus

Time Capsule chorus poster, from Island Lake Outdoor Ed Center.